
Introduction
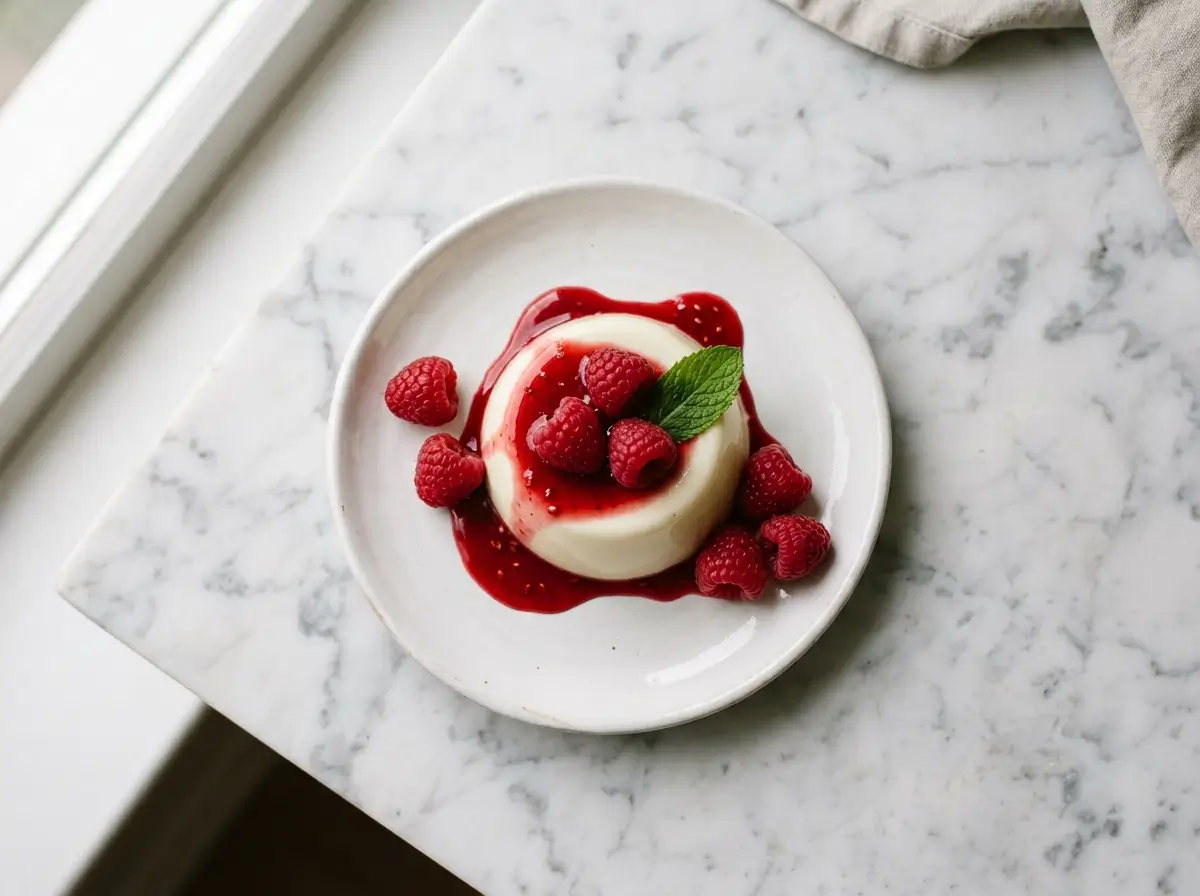
Panna cotta has a reputation it doesn’t deserve. Say the name and people picture a fussy restaurant dessert — something you’d never attempt at home. The truth is almost the opposite: panna cotta is one of the simplest gelatin desserts there is. No baking, no oven, no complicated technique. Just cream, a little sugar, vanilla, and gelatin, set in the fridge while you do something else entirely.
The word itself means “cooked cream” in Italian, and that’s really all this dessert is. What makes it feel special is the texture — a set so delicate it should tremble slightly when you tap the plate, but hold its shape completely when you turn it out of the mold. Getting that texture right isn’t about skill. It’s about getting the gelatin ratio right, and once you know it, you’ll get a perfect set every single time.
This recipe walks you through the exact ratio, the step-by-step method, and the small details — like water temperature and bloom time — that separate a silky panna cotta from a rubbery one or a puddle that won’t hold its shape.
What You Need
Ingredients
- 2 cups (480 ml) heavy cream
- 1 cup (240 ml) whole milk
- ⅓ cup (65 g) granulated sugar
- 2¼ teaspoons (1 packet, about 7 g) unflavored gelatin powder
- 3 tablespoons cold water (for blooming the gelatin)
- 1 teaspoon vanilla extract (or 1 vanilla bean, split and scraped)
- A pinch of salt
Equipment
- 4–6 small ramekins, molds, or glass jars (4–6 oz each)
- A small saucepan
- A small bowl (for blooming the gelatin)
- A fine-mesh strainer (optional, for the silkiest texture)
Why Gelatin Is the Secret to Perfect Panna Cotta
The entire texture of panna cotta comes down to one thing: how much gelatin you use relative to your liquid. Too little, and it never sets — you’ll end up with a thick, drinkable cream instead of a dessert you can unmold. Too much, and you get something closer to a firm gelatin dessert than the soft, barely-there wobble panna cotta is known for.
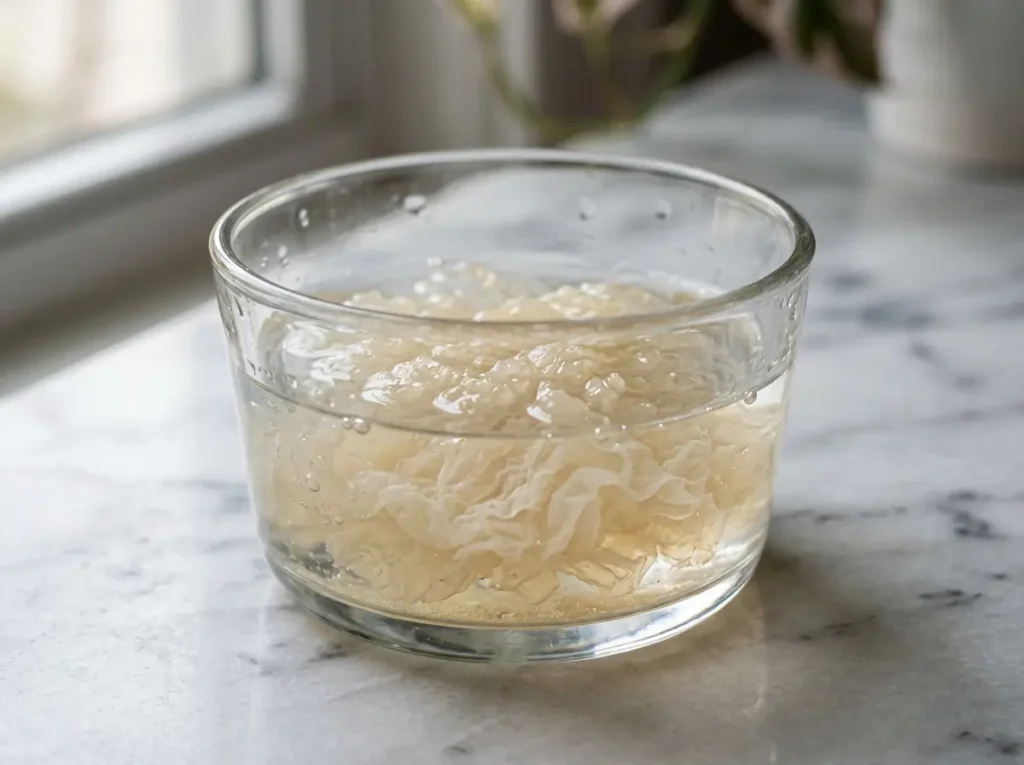
Unflavored gelatin needs to bloom — soak in cold water — before it’s added to a warm liquid. This step isn’t optional. Blooming lets the gelatin granules absorb water evenly, so they dissolve smoothly instead of clumping. Skip it, and you risk small, chewy bits of unset gelatin scattered through an otherwise silky dessert.
If you’re new to cooking with gelatin generally, our guide on what gelatin actually is nutritionally covers the basics of how this ingredient works before you start experimenting with ratios of your own.
Step-by-Step Instructions
Step 1 — Bloom the gelatin. Pour the 3 tablespoons of cold water into a small bowl. Sprinkle the gelatin powder evenly over the surface — don’t dump it in a pile, or it will clump and won’t hydrate evenly. Let it sit for 5–10 minutes until it looks like a soft, wrinkled gel.
Step 2 — Warm the cream mixture. In a saucepan, combine the heavy cream, milk, sugar, and salt. Warm over medium-low heat, stirring occasionally, until the sugar is fully dissolved and the mixture is hot but not boiling — small bubbles at the edge of the pan are your cue to remove it from heat. Boiling can affect how well the gelatin sets, so keep the heat gentle.
Step 3 — Dissolve the gelatin into the cream. Remove the pan from heat. Add the bloomed gelatin (it will look like a soft gel, not a liquid) to the warm cream mixture and whisk until it’s completely dissolved — about 30–60 seconds. There should be no visible gelatin lumps.
Step 4 — Add the vanilla. Stir in the vanilla extract or scraped vanilla bean.
Step 5 — Strain (optional but recommended). Pour the mixture through a fine-mesh strainer into a pitcher or measuring cup. This catches any small undissolved bits and gives you the silkiest possible texture — a step professional kitchens never skip.
Step 6 — Pour and chill. Divide the mixture evenly among your ramekins or molds. Let them cool at room temperature for about 10 minutes, then cover and refrigerate for at least 4 hours, or overnight for the best texture.
Step 7 — Unmold (if using molds). To unmold, dip the bottom of each ramekin in warm water for about 10 seconds, run a thin knife around the edge, then invert onto a plate. If serving in the ramekin or jar, skip this step entirely.
The Gelatin Ratio That Makes or Breaks Your Panna Cotta
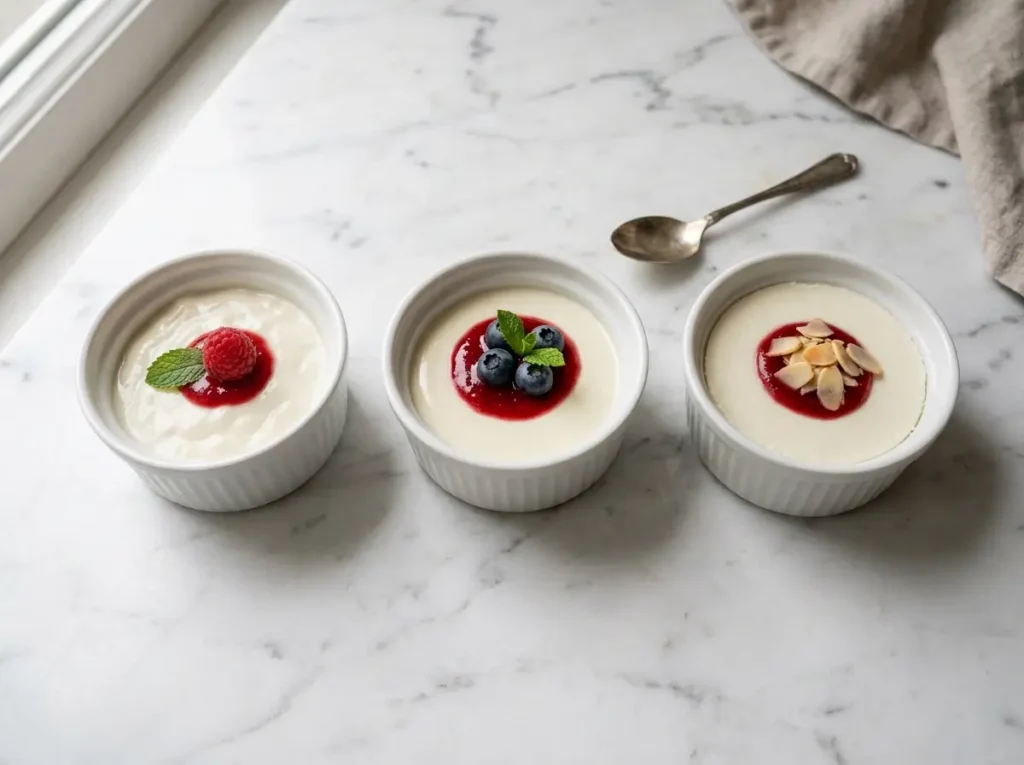
This is the part most recipes skip past — and it’s the reason so many home versions of panna cotta come out too firm or don’t set at all. Below is the standard ratio for 3 cups of total liquid (cream + milk), along with how to adjust it for a softer or firmer set.
| Texture | Gelatin per 3 cups liquid | Result | Best For |
|---|---|---|---|
| Soft-set (spoon-only) | 1¾ teaspoons | Delicate, barely holds shape | Serving in the ramekin or jar |
| Standard (this recipe) | 2¼ teaspoons | Silky, gentle wobble, holds its shape | Most home cooks — the recommended default |
| Firm (unmolds cleanly) | 2¾ teaspoons | Sturdier, holds a clean edge | Unmolding onto a plate for presentation |
A simple way to think about it: the more confident you want the unmolding to look, the more gelatin you need — but every teaspoon above the standard ratio trades away a little of that classic delicate wobble.
Flavor Variations to Try
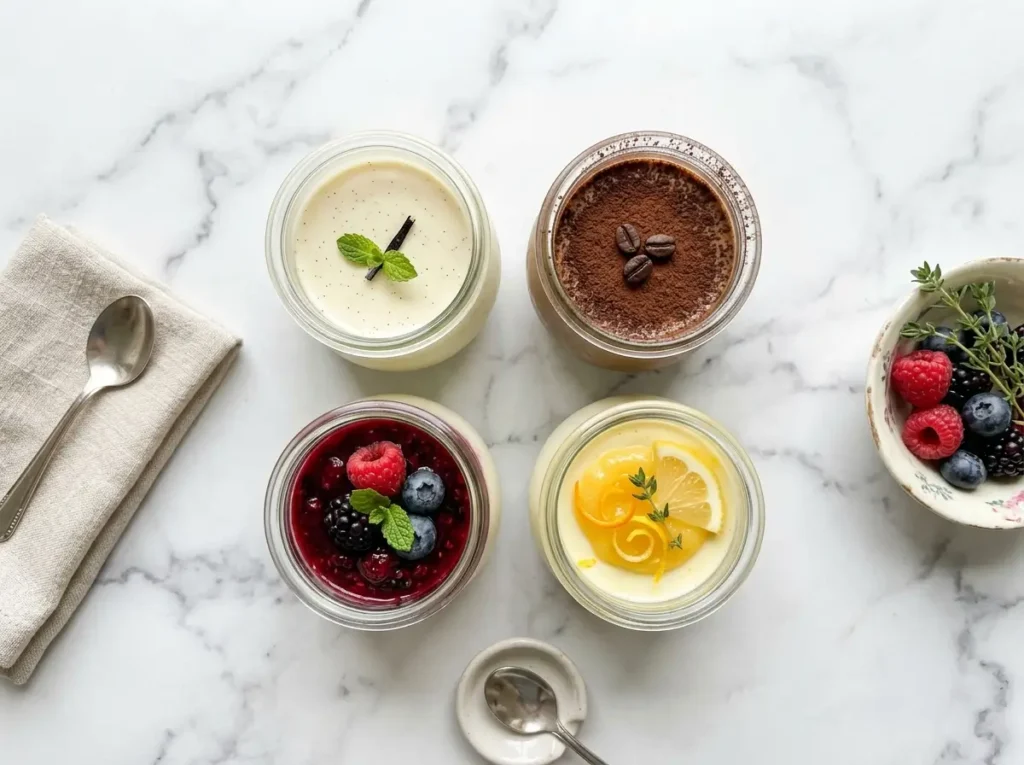
Coffee Panna Cotta. Replace 2 tablespoons of the milk with strong brewed espresso, added when you warm the cream mixture. Pairs beautifully with a dusting of cocoa powder.
Berry Coulis Topping. Blend 1 cup of fresh or frozen berries with 2 tablespoons of sugar and a squeeze of lemon juice, then strain and spoon over the set panna cotta just before serving. This is the classic restaurant presentation and it photographs beautifully.
Citrus Panna Cotta. Add the zest of one orange or lemon to the cream while it warms, then strain it out before adding the gelatin. Bright and less sweet than the classic version.
Vegan / Dairy-Free Version. Swap the cream and milk for full-fat coconut milk, and replace the gelatin with agar-agar. Because agar sets differently from gelatin, the ratio and method change — our guide to gelatin substitutes covers the exact agar-agar ratio and technique so your dairy-free version still sets properly.
Common Mistakes to Avoid
Skipping the bloom step. Adding dry gelatin powder directly to hot liquid almost always causes clumping. Always bloom in cold water first.
Boiling the cream mixture. High heat can weaken gelatin’s setting power. Warm gently — steam and small edge bubbles are enough.
Unmolding too early. Panna cotta needs a minimum of 4 hours in the fridge, though overnight gives the most reliable set. Unmolding early often means it hasn’t fully firmed up yet.
Using pre-flavored gelatin. Flavored gelatin packets (like flavored Jell-O) contain sugar and dyes that will throw off both the taste and the ratio. Always use plain, unflavored gelatin for this recipe.
Over-measuring gelatin “just to be safe.” More gelatin doesn’t mean a better result — it means a firmer, less delicate texture. Stick to the ratio for the texture you want.
Make-Ahead & Storage
Panna cotta is an ideal make-ahead dessert — in fact, it needs the time in the fridge anyway. Prepare it up to 3 days in advance, covered, in the refrigerator. If serving in individual jars or ramekins, cover each with plastic wrap or a lid to prevent them from absorbing other flavors in the fridge.
Do not freeze panna cotta. Like most gelatin desserts, freezing breaks down the texture — when thawed, it becomes watery and grainy instead of smooth.
Frequently Asked Questions
Can I make panna cotta the day before serving?
Yes — this is actually recommended. Panna cotta needs at least 4 hours to set, but the texture and flavor are best after a full overnight chill. It keeps well covered in the fridge for up to 3 days.
Why didn’t my panna cotta set?
The most common causes are using too little gelatin, not blooming it properly before adding it to the cream, or not chilling it long enough. Give it the full 4 hours minimum before deciding it hasn’t set — the texture continues to firm up as it chills.
Can I use half-and-half instead of heavy cream?
Yes, though the result will be noticeably less rich and silky. Heavy cream is what gives panna cotta its signature smooth, luxurious texture. If you do substitute, consider using the “firm” ratio from the table above since lighter cream sets slightly less firmly.
Can I make this without gelatin?
Yes, using agar-agar as a plant-based substitute — see the vegan variation above for the swap. Note that agar sets firmer and at room temperature, so the texture will be different from a classic gelatin panna cotta.
How do I know if my gelatin is still good?
Unflavored gelatin doesn’t really “expire” in a way that makes it unsafe, but old gelatin can lose some of its setting power. If your panna cotta consistently doesn’t set despite following the ratio, try a fresh packet.
Can I double this recipe?
Yes — this recipe scales cleanly. Double all ingredients for 8–12 servings, keeping the ratio of gelatin to total liquid the same.
The Bottom Line
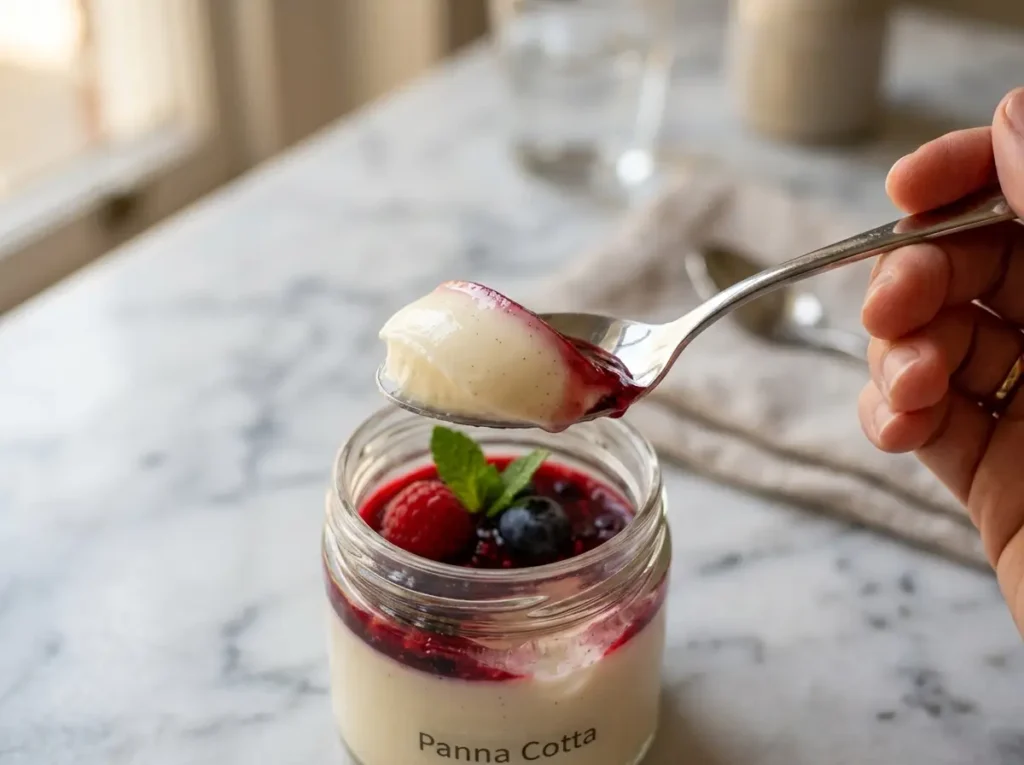
Panna cotta looks like a restaurant-only dessert, but it’s really just cream, sugar, vanilla, and the right amount of gelatin. Once you understand the ratio — and resist the urge to add more gelatin than the recipe calls for — you’ll get that signature silky wobble every time. Make a batch this weekend, chill it overnight, and you’ll see why this “fussy” dessert is actually one of the easiest things in your gelatin recipe rotation.
Print
Panna Cotta Recipe (Silky, No-Fail, 5 Ingredients)
- Total Time: 4 heures 15 minutes
- Yield: 4–6 portions 1x
Description
Une panna cotta classique, soyeuse et délicatement tremblotante, préparée avec de la crème, du lait, de la vanille et la juste quantité de gélatine pour une texture parfaite.
Ingredients
- 480 ml de crème liquide entière
- 240 ml de lait entier
- 65 g de sucre en poudre
- 2¼ cuillères à café (environ 7 g) de gélatine en poudre non aromatisée
- 3 cuillères à soupe d’eau froide
- 1 cuillère à café d’extrait de vanille ou 1 gousse de vanille fendue et grattée
- 1 pincée de sel
Instructions
- Verser l’eau froide dans un petit bol.
- Saupoudrer uniformément la gélatine sur l’eau et laisser reposer 5 à 10 minutes jusqu’à ce qu’elle forme un gel souple.
- Dans une casserole, mélanger la crème liquide, le lait, le sucre et le sel.
- Chauffer à feu moyen-doux en remuant de temps en temps jusqu’à ce que le sucre soit dissous et que le mélange soit chaud sans bouillir.
- Retirer la casserole du feu et ajouter la gélatine hydratée.
- Fouetter pendant 30 à 60 secondes jusqu’à dissolution complète de la gélatine.
- Ajouter l’extrait de vanille ou les graines de la gousse de vanille.
- Filtrer le mélange à travers une passoire fine pour obtenir une texture parfaitement soyeuse.
- Répartir la préparation dans 4 à 6 ramequins, moules ou petits pots en verre.
- Laisser refroidir environ 10 minutes à température ambiante.
- Couvrir et réfrigérer pendant au moins 4 heures ou toute une nuit.
- Pour démouler, plonger le fond du ramequin dans de l’eau tiède pendant environ 10 secondes, passer un couteau fin sur le pourtour et retourner sur une assiette.
Notes
Le secret d’une panna cotta parfaite est de respecter le ratio de gélatine. Faites-la toujours tremper dans l’eau froide avant de l’ajouter au mélange chaud et évitez de faire bouillir la crème pour conserver une texture délicate et soyeuse.
- Prep Time: 10 minutes
- Cook Time: 5 minutes
- Category: Dessert
- Method: Sans Cuisson
- Cuisine: Italienne
Nutrition
- Serving Size: 1 portion
- Calories: 390
- Sugar: 22g
- Sodium: 90mg
- Fat: 32g
- Saturated Fat: 20g
- Unsaturated Fat: 10g
- Trans Fat: 0g
- Carbohydrates: 24g
- Fiber: 0g
- Protein: 5g
- Cholesterol: 120mg
Keywords: panna cotta, dessert italien, crème, vanille, gélatine, dessert sans cuisson